Custom 350 H-Quad Frame
I’ve spent the last week designing and building a new frame as I refurbish my quadcopter. It has been a lot of work, but I finally have something that is lightweight, durable, and looks awesome.
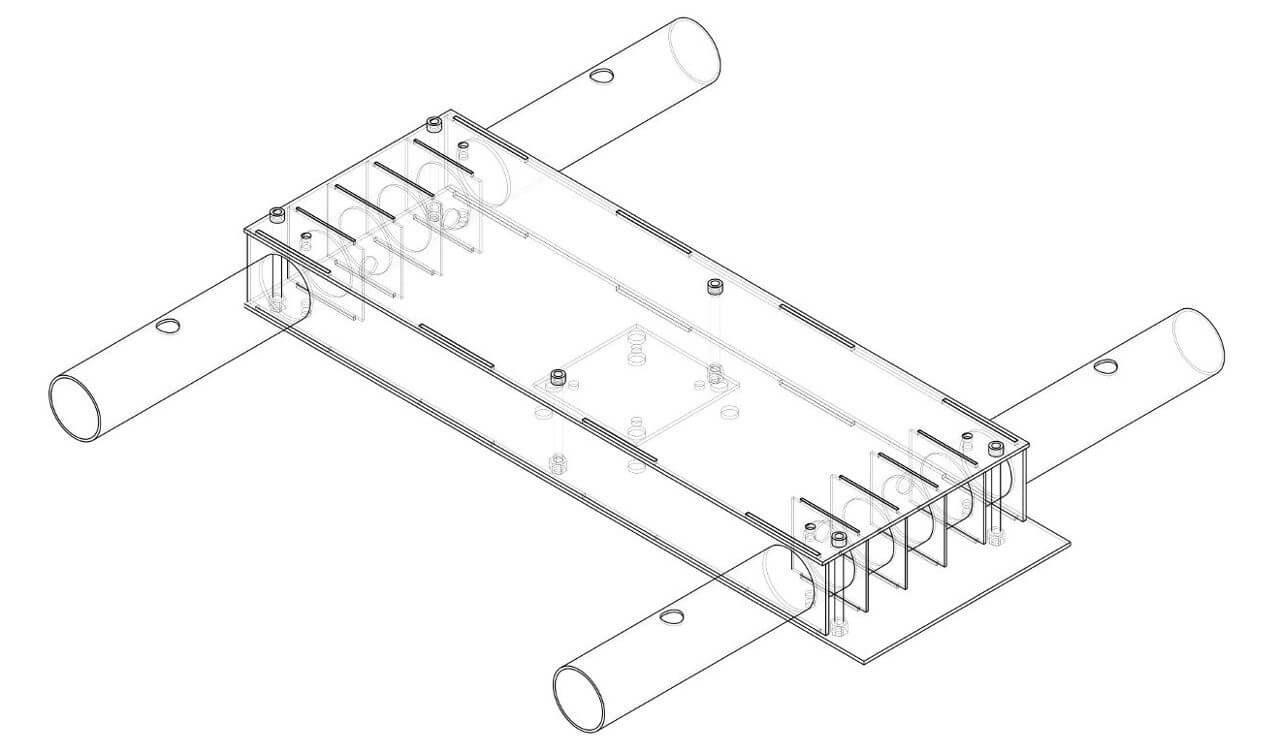
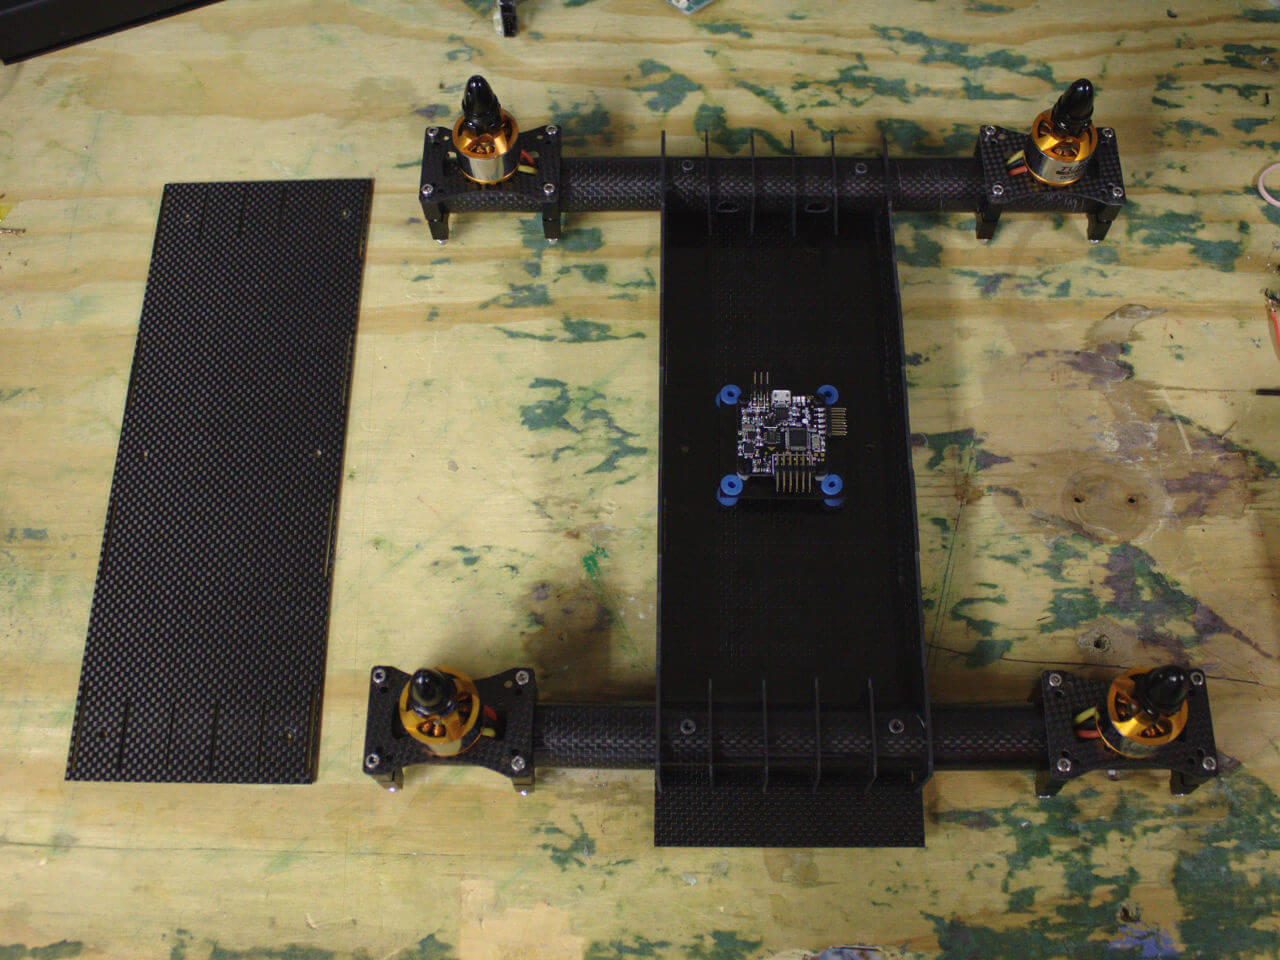
Before I got to work drawing up the design in FreeCAD, I had to decide on a few things. First and foremost, I had to decide between a X, +, or H configuration for the motors, each configuration having its pros and cons. For my previous frame, I had gone with the X configuration simply because it was a popular and very standard design. However, as I started mounting the various components, I realized that it doesn’t leave much room in the center to put everything. The + configuration isn’t much better, so for this frame I went with the H configuration instead. This gets me a large platform to mount the electronics.
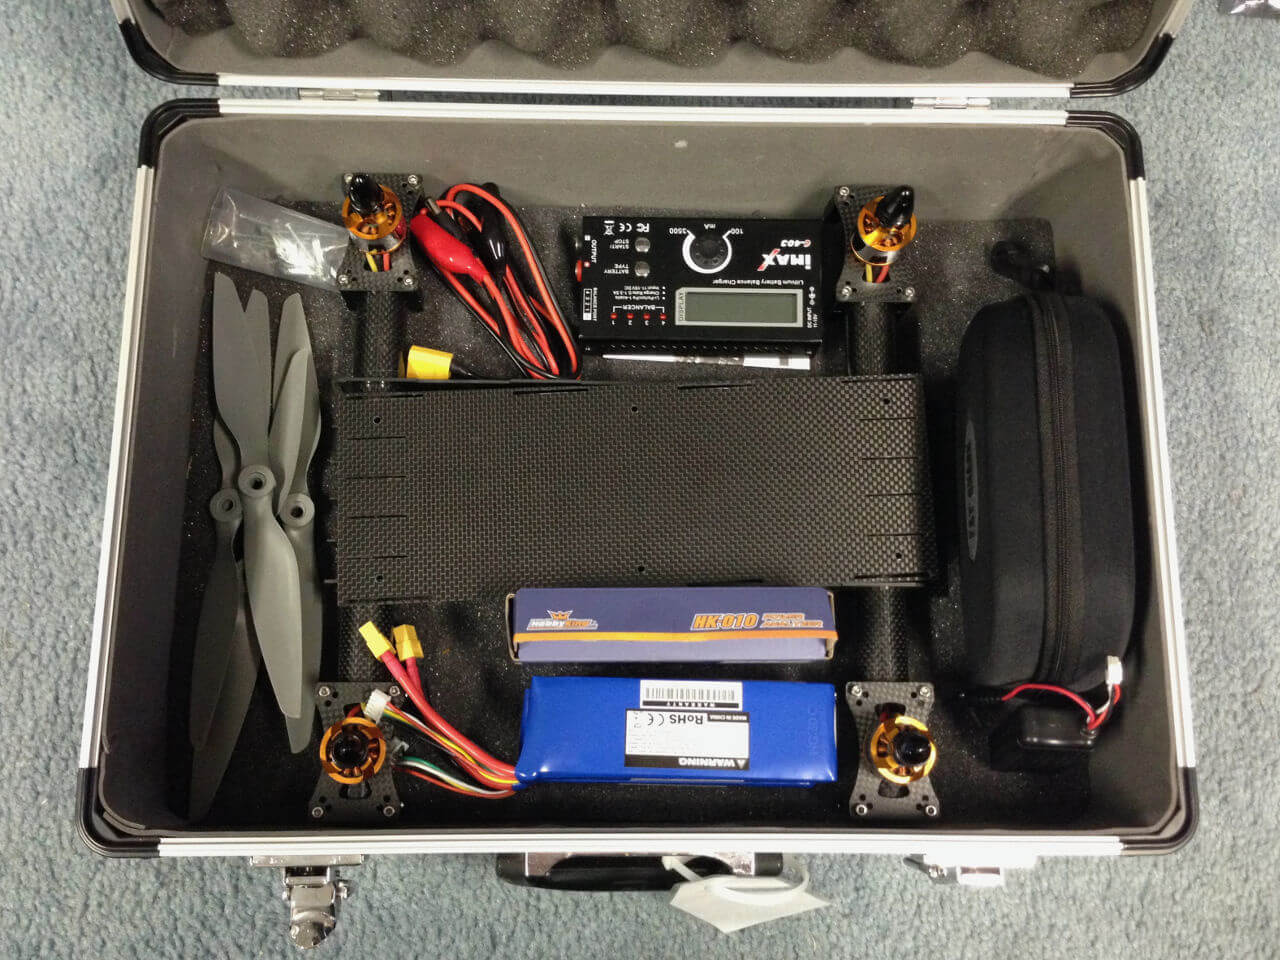
The new frame is slightly smaller than the old one at about 350mm between motors diagonally. The smaller size allows me to reuse an old aluminum hard case I had laying around to carry the quadcopter and all the stuff that goes with it. I could have instead went with 250mm frame and build a mini race quad, but the slightly larger size makes the quad more stable and allows me to fit larger propellers in order to maximize battery life.
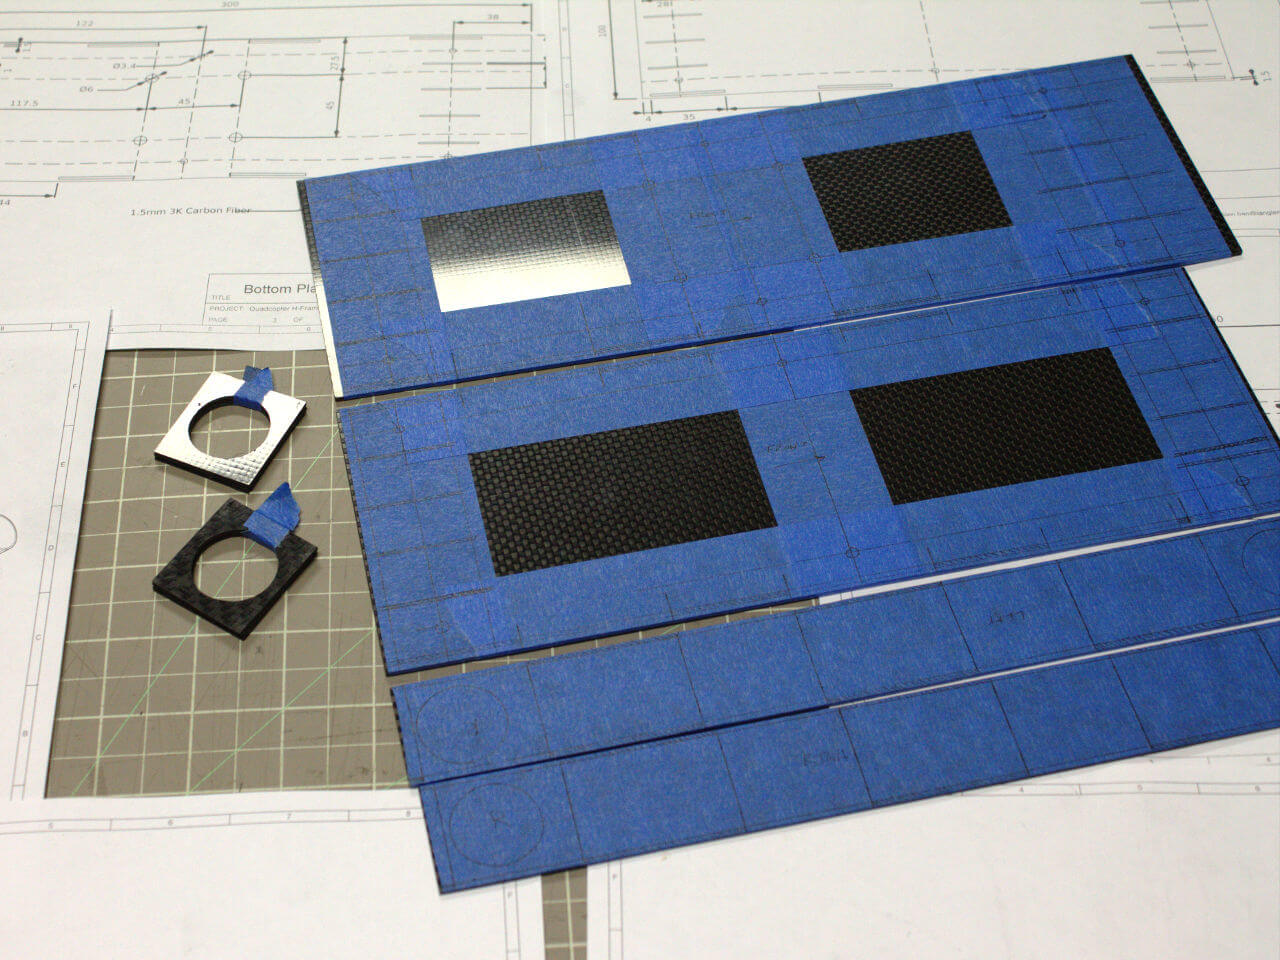
The entire frame is constructed out of 1mm and 1.5mm thick 3K carbon fiber, including the beams. This allows the frame to be extremely lightweight but at the same time be quite durable and stiff. I discovered that carbon fiber can be bought on eBay and Amazon for fairly cheap. It’s comes direct from China and, surprisingly, the quality is really good. The design is loosely based off the FT VersaCopter, especially the beam supports.
It took me a few days to fabricate the carbon fiber parts, as I hand-cut them using a Dremel, bench grinder, and drill. It was extremely tedious, and access to a CNC router or laser cutter would have helped a lot, but I am happy that the parts came out pretty close to the original dimensions. In addition, I had to do a lot of precise cutting in order to make sure everything fit together perfectly. If I were to build another frame, it would probably benefit from larger clearances between parts.
After all that work, I’m left with a very cool looking frame that has plenty of room to mount components, which should result in a very clean quadcopter with very good cable management.